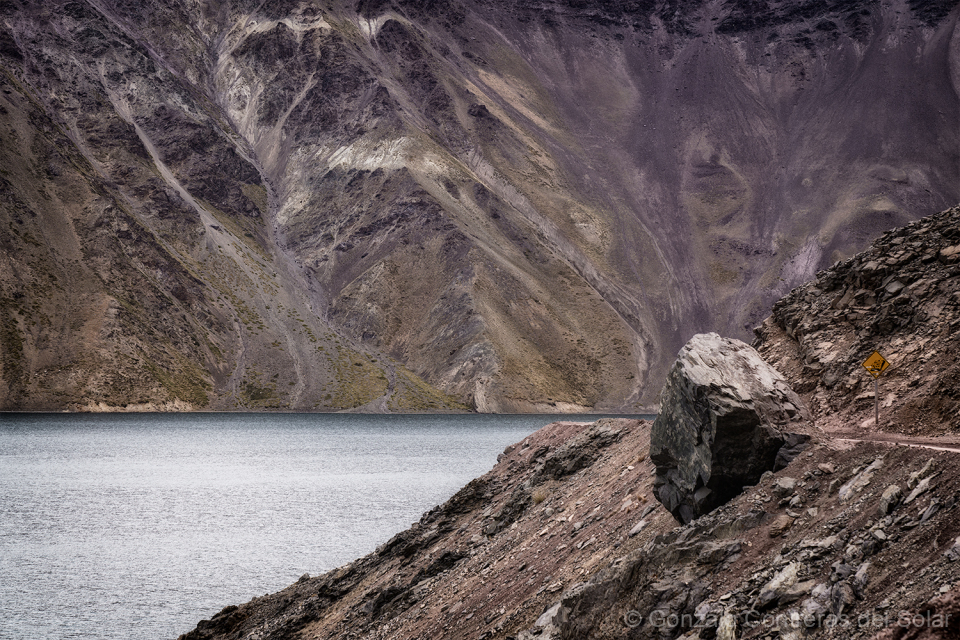
Hello again, Today, I’m excited to walk you through my process of printing. For this I will show you two images I captured at the main water reservoir close to Santiago.
First and foremost, setting up the paper is crucial. While my Canon printer typically handles regular papers automatically, I prefer to manually load the thick fine art papers to minimize the risk of paper jams that could damage both the paper itself and the printer’s delicate print head.
Once the paper is securely in place, the printer stands ready to receive the file for printing. Canon provides intuitive software where I arrange the images within the desired print dimensions, fine-tuning various settings before hitting the ‘SEND’ button.
Opting for maximum print quality means patience is key. I watch as the print head meticulously traverses the paper, laying down ink with precision from one end to the other, and back again.
Upon completion and drying of the ink for less than a minute, I will instruct the printer to automatically cut the paper to the defined size.
As you can see, the printed images mirror the colors I see on my monitor thanks to a meticulous color management process. This involves calibrating both monitor colors and printer output using custom ICC profiles tailored for each type of paper I print on.
Since I produce limited editions of just five prints per image, I take pride in creating a signed certificate of authenticity for each one. This final touch ensures that each print is not only visually striking but also uniquely authenticated.
This narrative captures the meticulous care and attention to detail that I do for each print done at my studio, from preparation and printing to the final touches of certification.